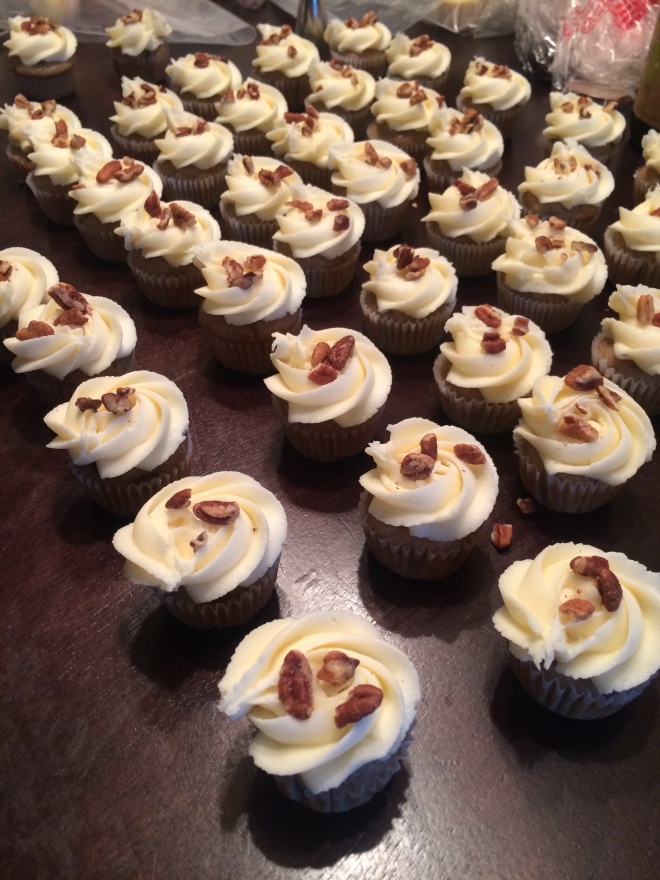
 Hummingbird…..Doesn’t really make you think of a cake flavour does it? I have people ask me all the time what is in hummingbird cake and why is it called hummingbird…. well I can answer the first one but have absolutely no clue as to the second! Hummingbird cake is like a hybrid cake.. think banana bread + carrot cake(sans carrots of course… that would be weird!) Hummingbird Cake has very quickly become one of my favourite cakes, after carrot of course! Can’t even begin to describe how delicious this cake it, except maybe by adding that the icing on top is cream cheese buttercream!!!
I made these for a wedding this weekend and will be doing a wedding post later today!
This recipe that I use is one I found on Pinterest copied from Country Home Magazine.
Ingredients for Hummingbird Cupcakes: Makes 75 mini cupcakes/ 24 regular cupcakes
- 3 cups flour
- 2 tsp ground cinnamon
- 1 tsp baking soda
- 1 tsp salt
- 1 cup white sugar
- 1 cup packed light brown sugar
- 3 large eggs, room temperature
- 1 cup vegetable oil
- 2 tsp vanilla extract
- 1 cup pineapple, puree
- 2 cups bananas, mashed (I usually use 6 medium-sized…. having them go brown then freezing them works the best!)
- 1 cup pecans, chopped
-Preheat oven to 350F
-Line your cupcake pans with papers
-In a large mixing bowl combine flour, cinnamon, baking soda and salt, set aside
-In a second large mixing bowl combine the white and brown sugar; stir to combine. Add the eggs and stir briskly by hand to combine all ingredients into a smooth mixture.
-Whisk the oil and vanilla into the egg/sugar mixture until combine and smooth.
-Add the flour mixture all at once and hand stir to combine fully.
-Add the puree pineapple, mashed bananas and pecans to the b atter, stir just until combined…do not over stir!
-Using a cupcake scoop/cookie scoop fill each cupcake liner until it is 3/4 full. Place in preheated oven and cook for 7-9(minis) minutes or until a toothpick comes out clean. Make sure to rotate your pans halfway through cook time
-Allow cupcakes to cool completely on wire rack before icing…..
Now for the Cream Cheese Buttercream!
Now again with all my icing recipes it’s all about trial and error… I measure everything BUT the icing sugar, that I play by ear!
Ingredients:
- 1 cup butter, softened
- 8oz cream cheese
- 1 tsp salt
- 2 tsp vanilla extract
- 3-4 cups icing sugar
-Cream together butter and cream cheese until nice and smooth. Add vanilla and salt, beat for 30 second. Start adding your icing sugar 1 cup at a time until you have reached a smooth, creamy texture and the stiffness to pipe/ice without it running!
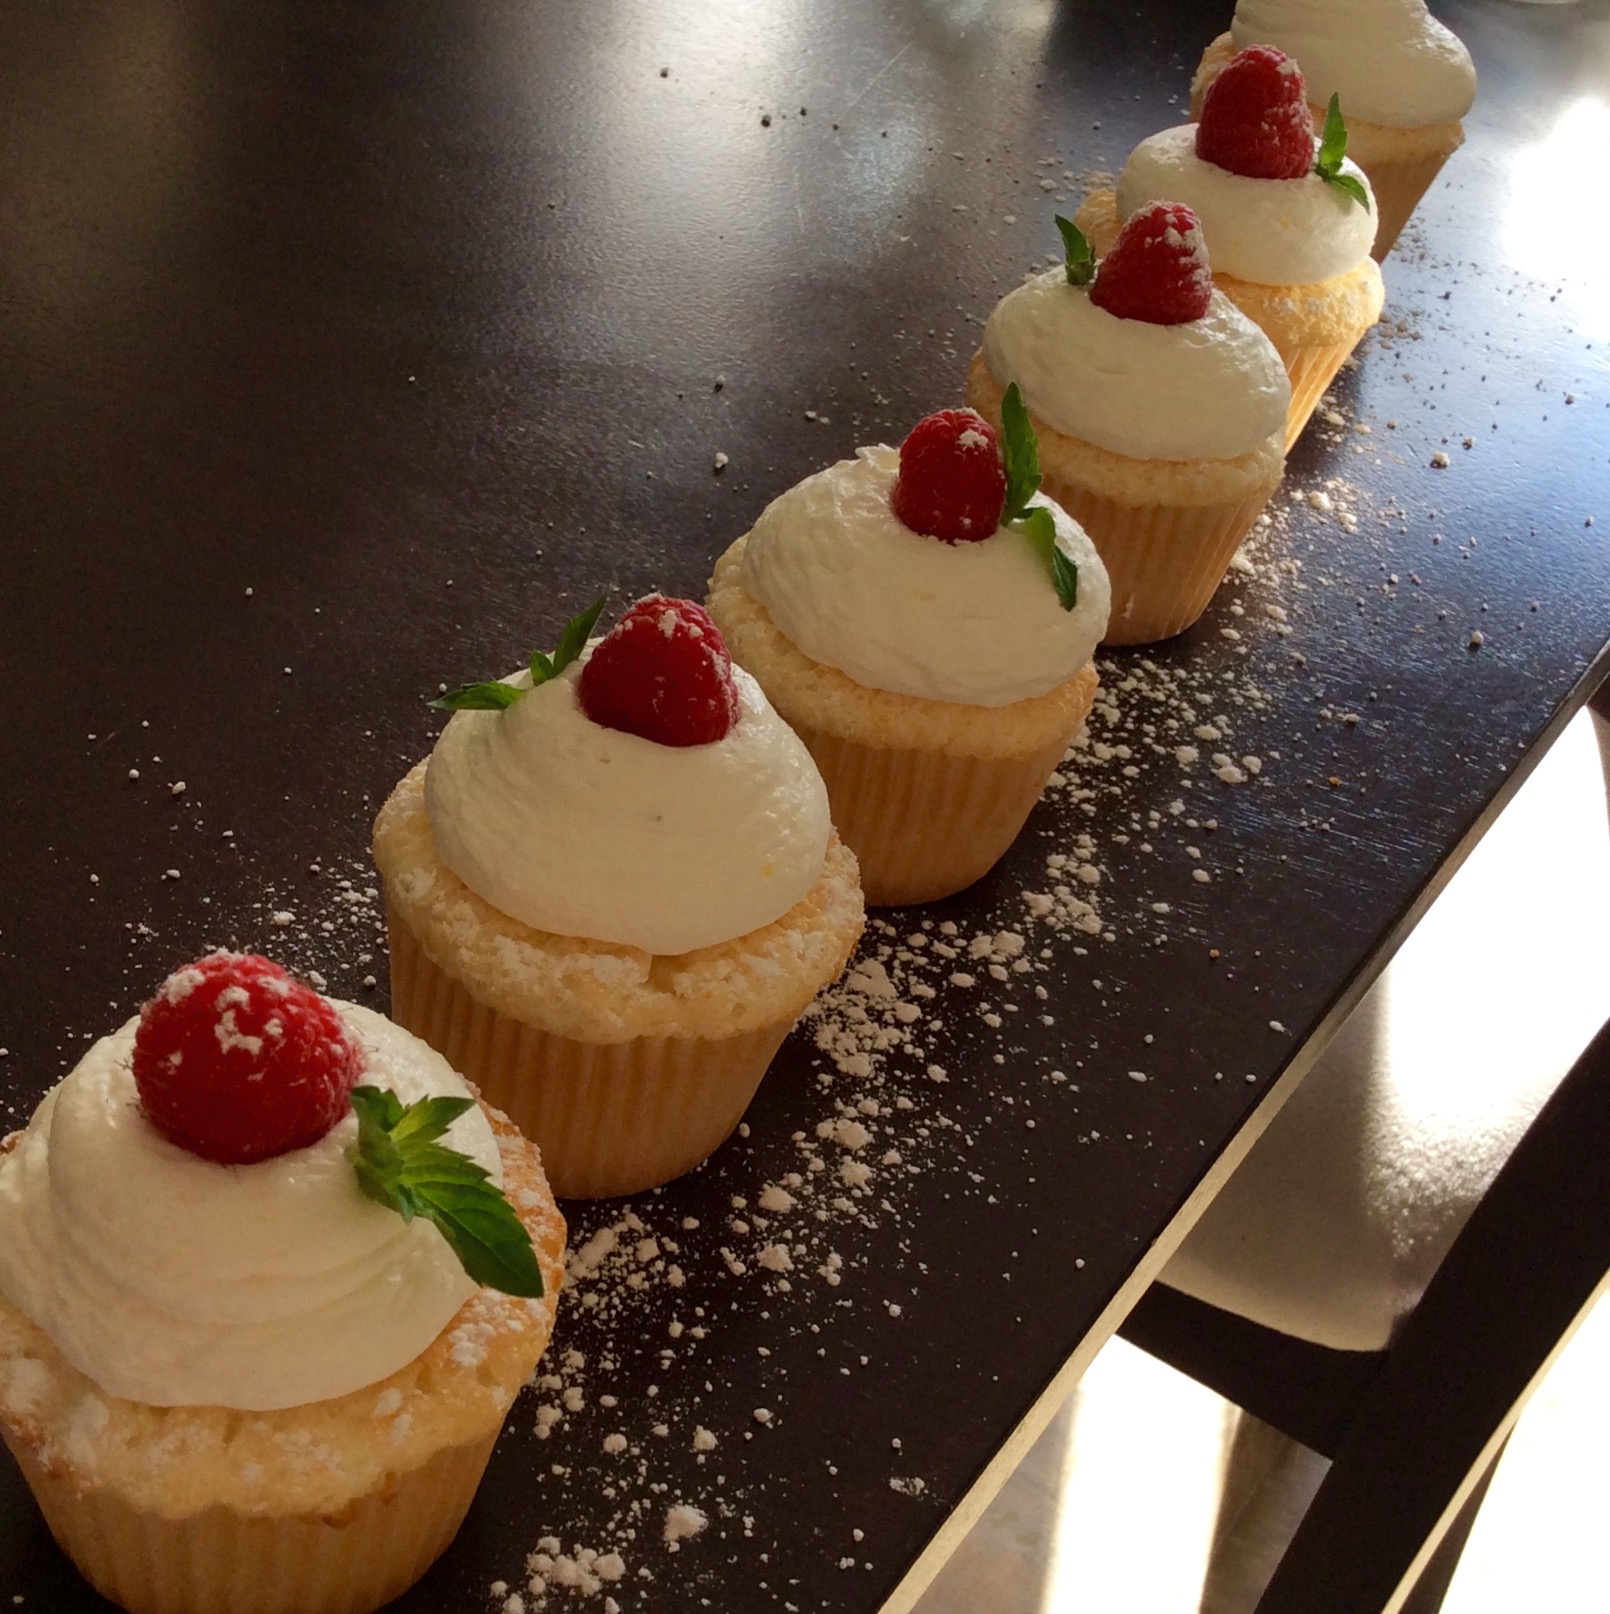
 For piping these little beauties I used Wiltons 1M icing tip, and for a little sprinkle I topped them with some chopped pecans….YUM!!
This cupcake I can’t make too often, its one that your just continue eating and eating until they are all gone! Cream Cheese buttercream goes with everything… but who knew it would pair so well with banana! This cupcake just screams country living, it’s a very southern recipe and one that I am happy to have in my box of recipes! I highly recommend giving this recipe a try.. if you love banana bread its sure to become a favourite!!
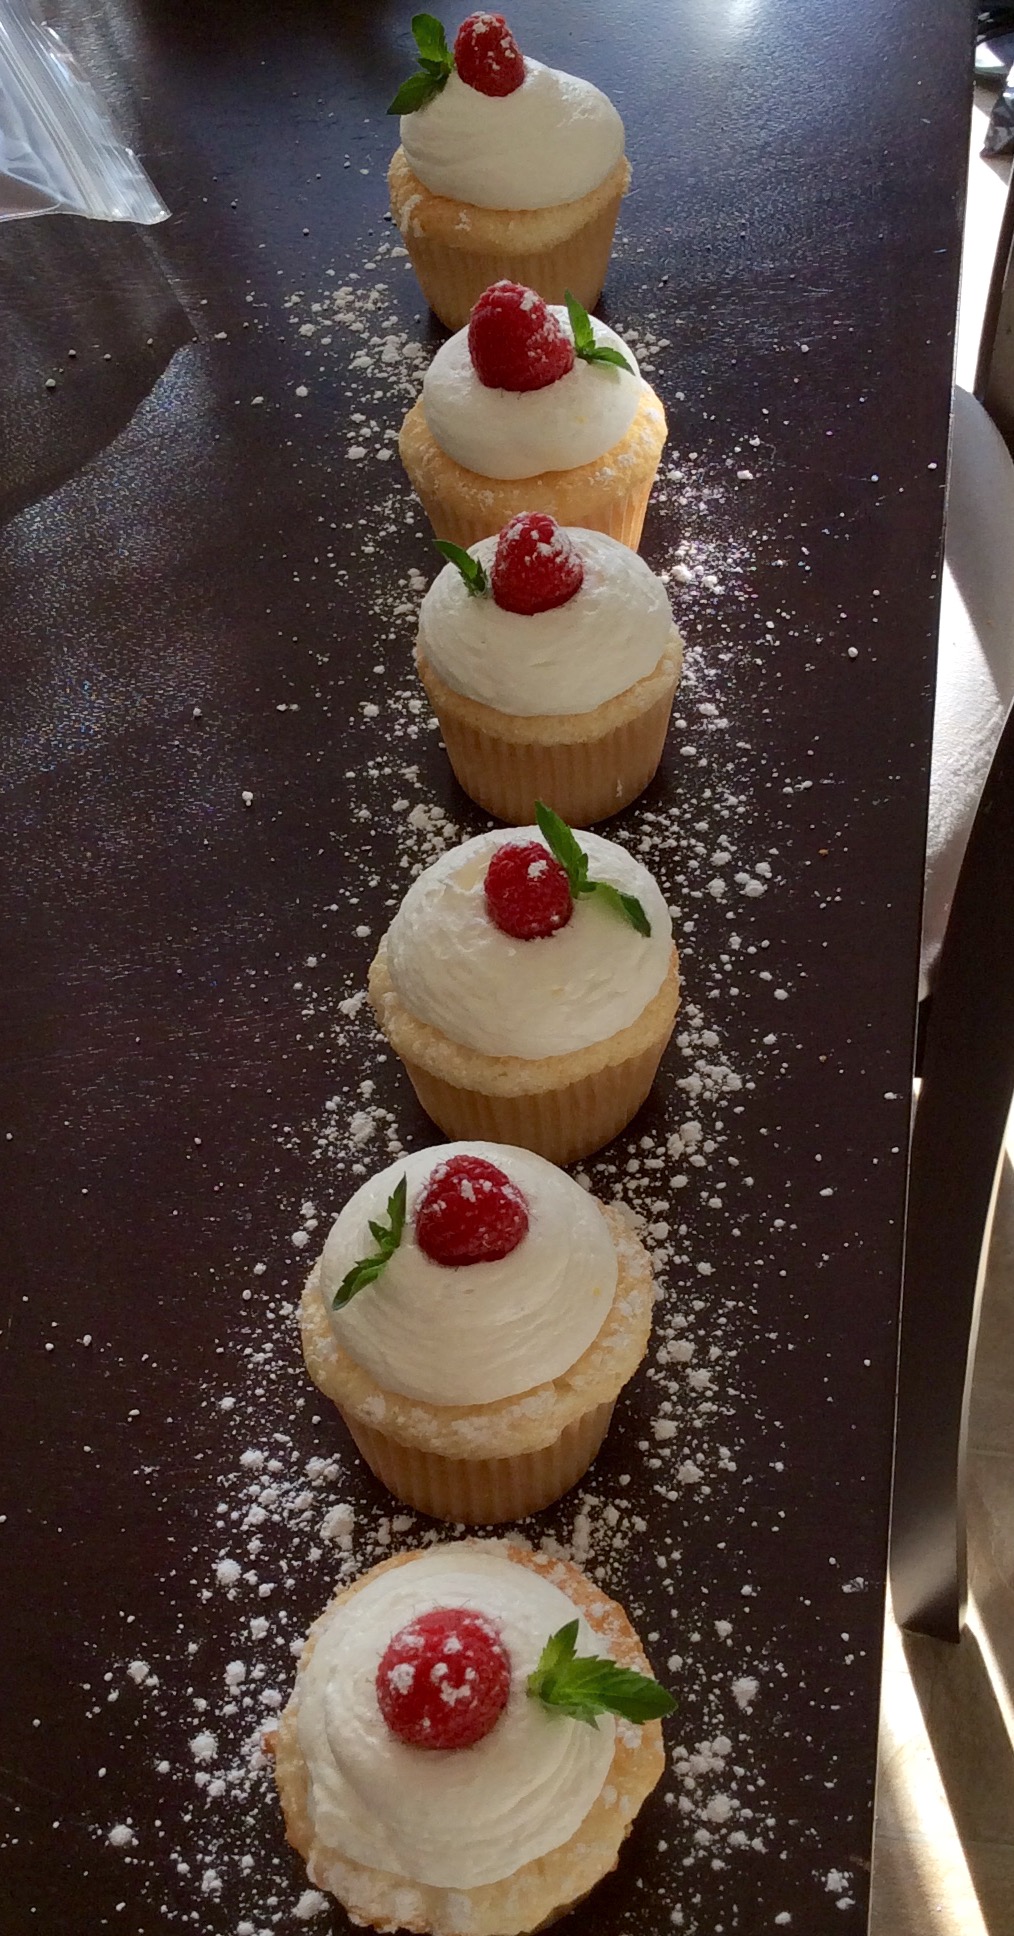
 I mean….drooling…YUM
Until next post, enjoy!

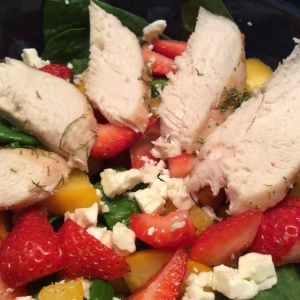
 Another day, another salad…. They just keep getting yummier and yummier too! Spinach is a touch green, it’s the one that we as children believe is the worst form of punishment. If you are anything like my dad and brothers it took you awhile to even try eating it, oh course once you did you realize it’s not half bad….and if you like me you realized it delicious! I love making spinach salads because it is sooo versatile when it comes to pairing it with different dressings and toppings!
 ach
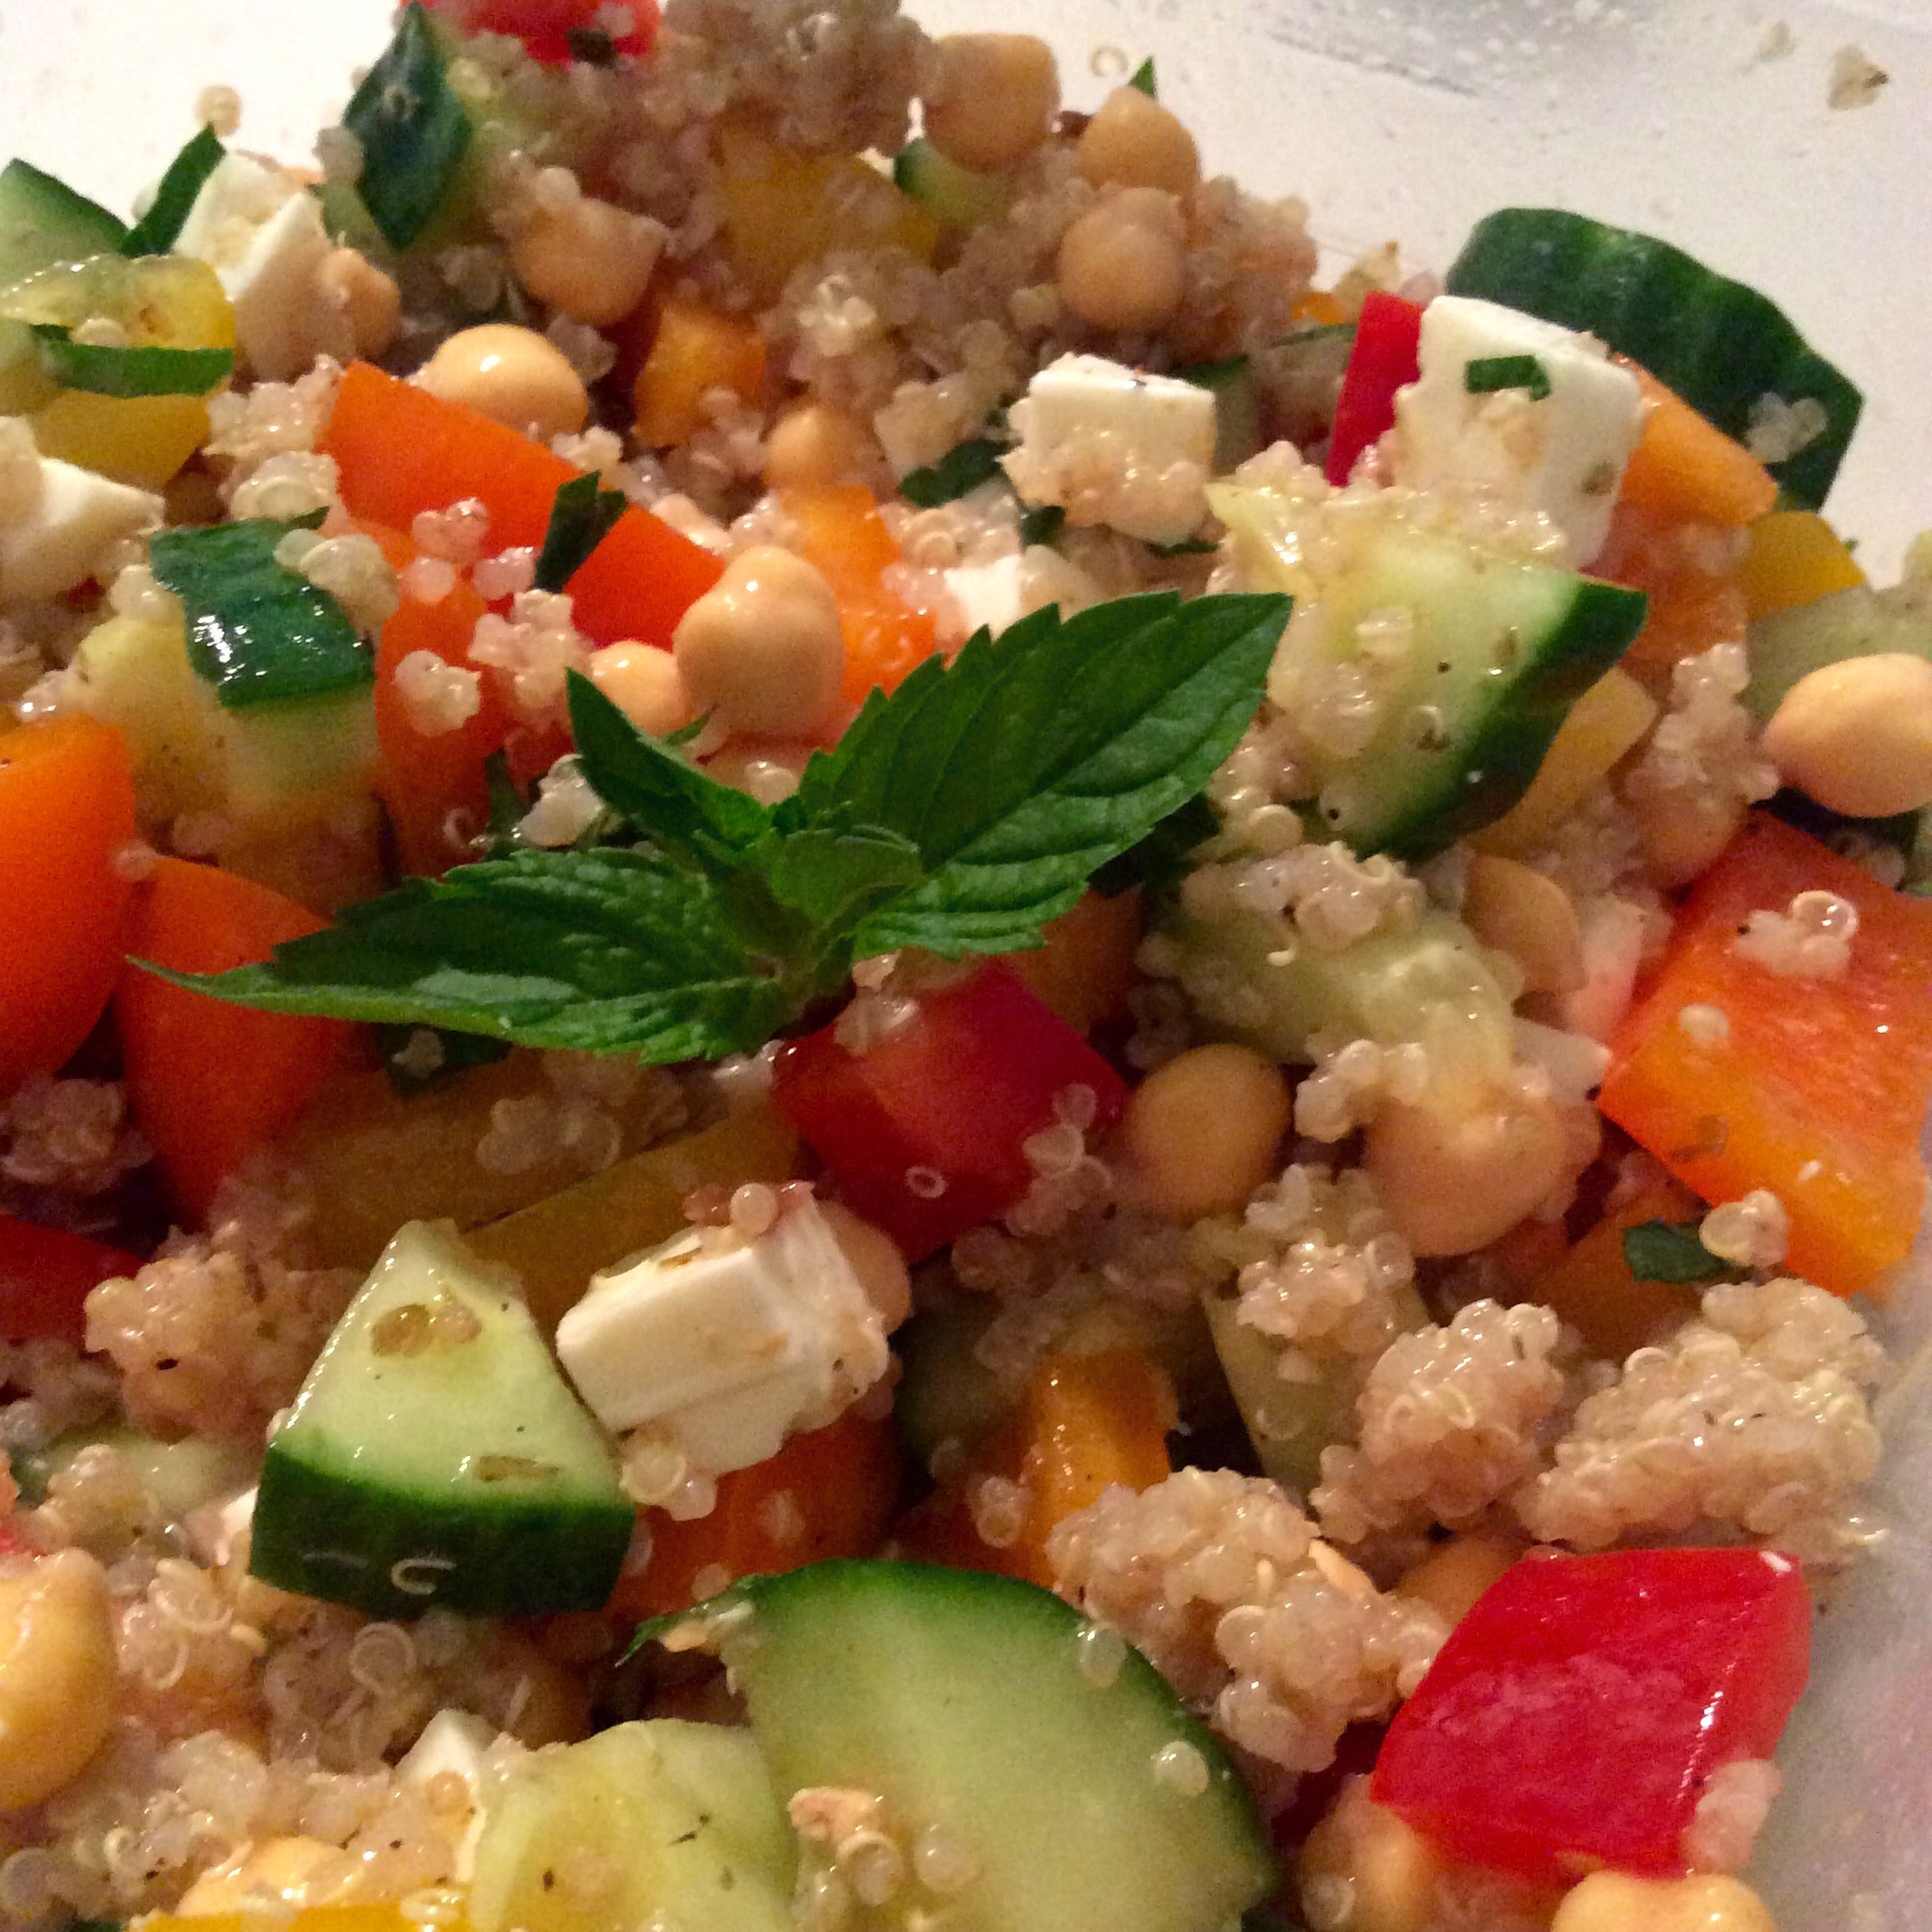
ach This salad was nice and filling and I got the chance to use fresh garden tomatoes that I grew:)! I definitely recommend throwing this salad into your rotation!
 nt so that your mix is nice and fluffy! Fill your cupcake papers 3/4 full with your cake batter. Bake in a preheated oven for 8-10 minutes, turning halfway through. These guys do not take very long and are done once
  they are a nice golden brown! Cool on an oven rack!